Dealing with a plumbing leak can be a huge hassle. It can damage your property and disrupt your daily life. Fortunately, there are ways to handle it. Here are the steps to manage a major plumbing leak and reduce its impact.
- Identify the source of the leak. Inspect pipes, faucets and other areas where leaks may occur.
- Shut off the water supply immediately. This will help stop more damage and let you work on resolving the issue.
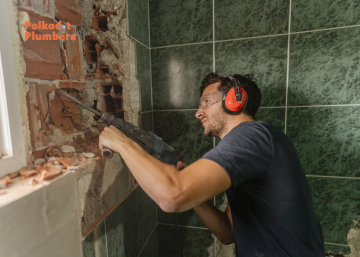
- Evaluate the extent of the leak. Can you fix it yourself or do you need professional help? Minor leaks, like a dripping faucet, can be fixed by replacing worn-out parts or tightening loose connections. Major leaks or burst pipes need the expertise of a licensed plumber.
- Clean up water damage and dry everything thoroughly. Water can cause mould and structural damage if not attended to. Use fans and dehumidifiers in affected areas to aid in drying out furniture, carpets and walls.
- Remember prevention is key! Inspect your plumbing regularly and address minor issues quickly. Install water detection devices that can alert you if a leak occurs when you are away.
By following these steps and staying proactive, you can handle major leaks well and protect your home’s integrity. Regular maintenance is also very important.
Assess the severity of the leak
Assessing the severity of a plumbing leak requires a professional approach to ensure efficient handling. Follow this 6-step guide to accurately evaluate the situation:
- Identify the source: Locate the origin of the leak, whether it’s from a pipe, faucet, toilet, or water heater.
- Determine the size: Estimate the amount of water being released and the speed at which it’s flowing to gauge the severity of the leak.
- Examine the damage: Assess any visible signs of water damage, such as soaked walls or ceilings, to understand the magnitude of the problem.
- Consider the location: Analyze whether the leak is occurring in a critical area, such as near electrical outlets or in an essential living space.
- Evaluate potential hazards: Look for potential dangers, like mould growth or structural instability, which can arise from a leak if left unattended.
- Assess urgency: Determine the immediacy of the problem by considering factors like the rate of water flow and the risk of extensive damage if not addressed promptly.
By carefully following these steps, you can gain a clear understanding of the severity of the plumbing leak and take the appropriate actions to mitigate further damage.
Remember, time is of the essence when dealing with plumbing leaks. Ignoring or delaying repairs can lead to costly consequences and potential health hazards. Don’t let the fear of missing out on timely intervention drive you. Take immediate action to prevent further damage and ensure the safety and integrity of your home.
Don’t worry, your bathroom turning into a swimming pool isn’t a new trend, it’s just a major plumbing leak.
Look for signs of a major plumbing leak
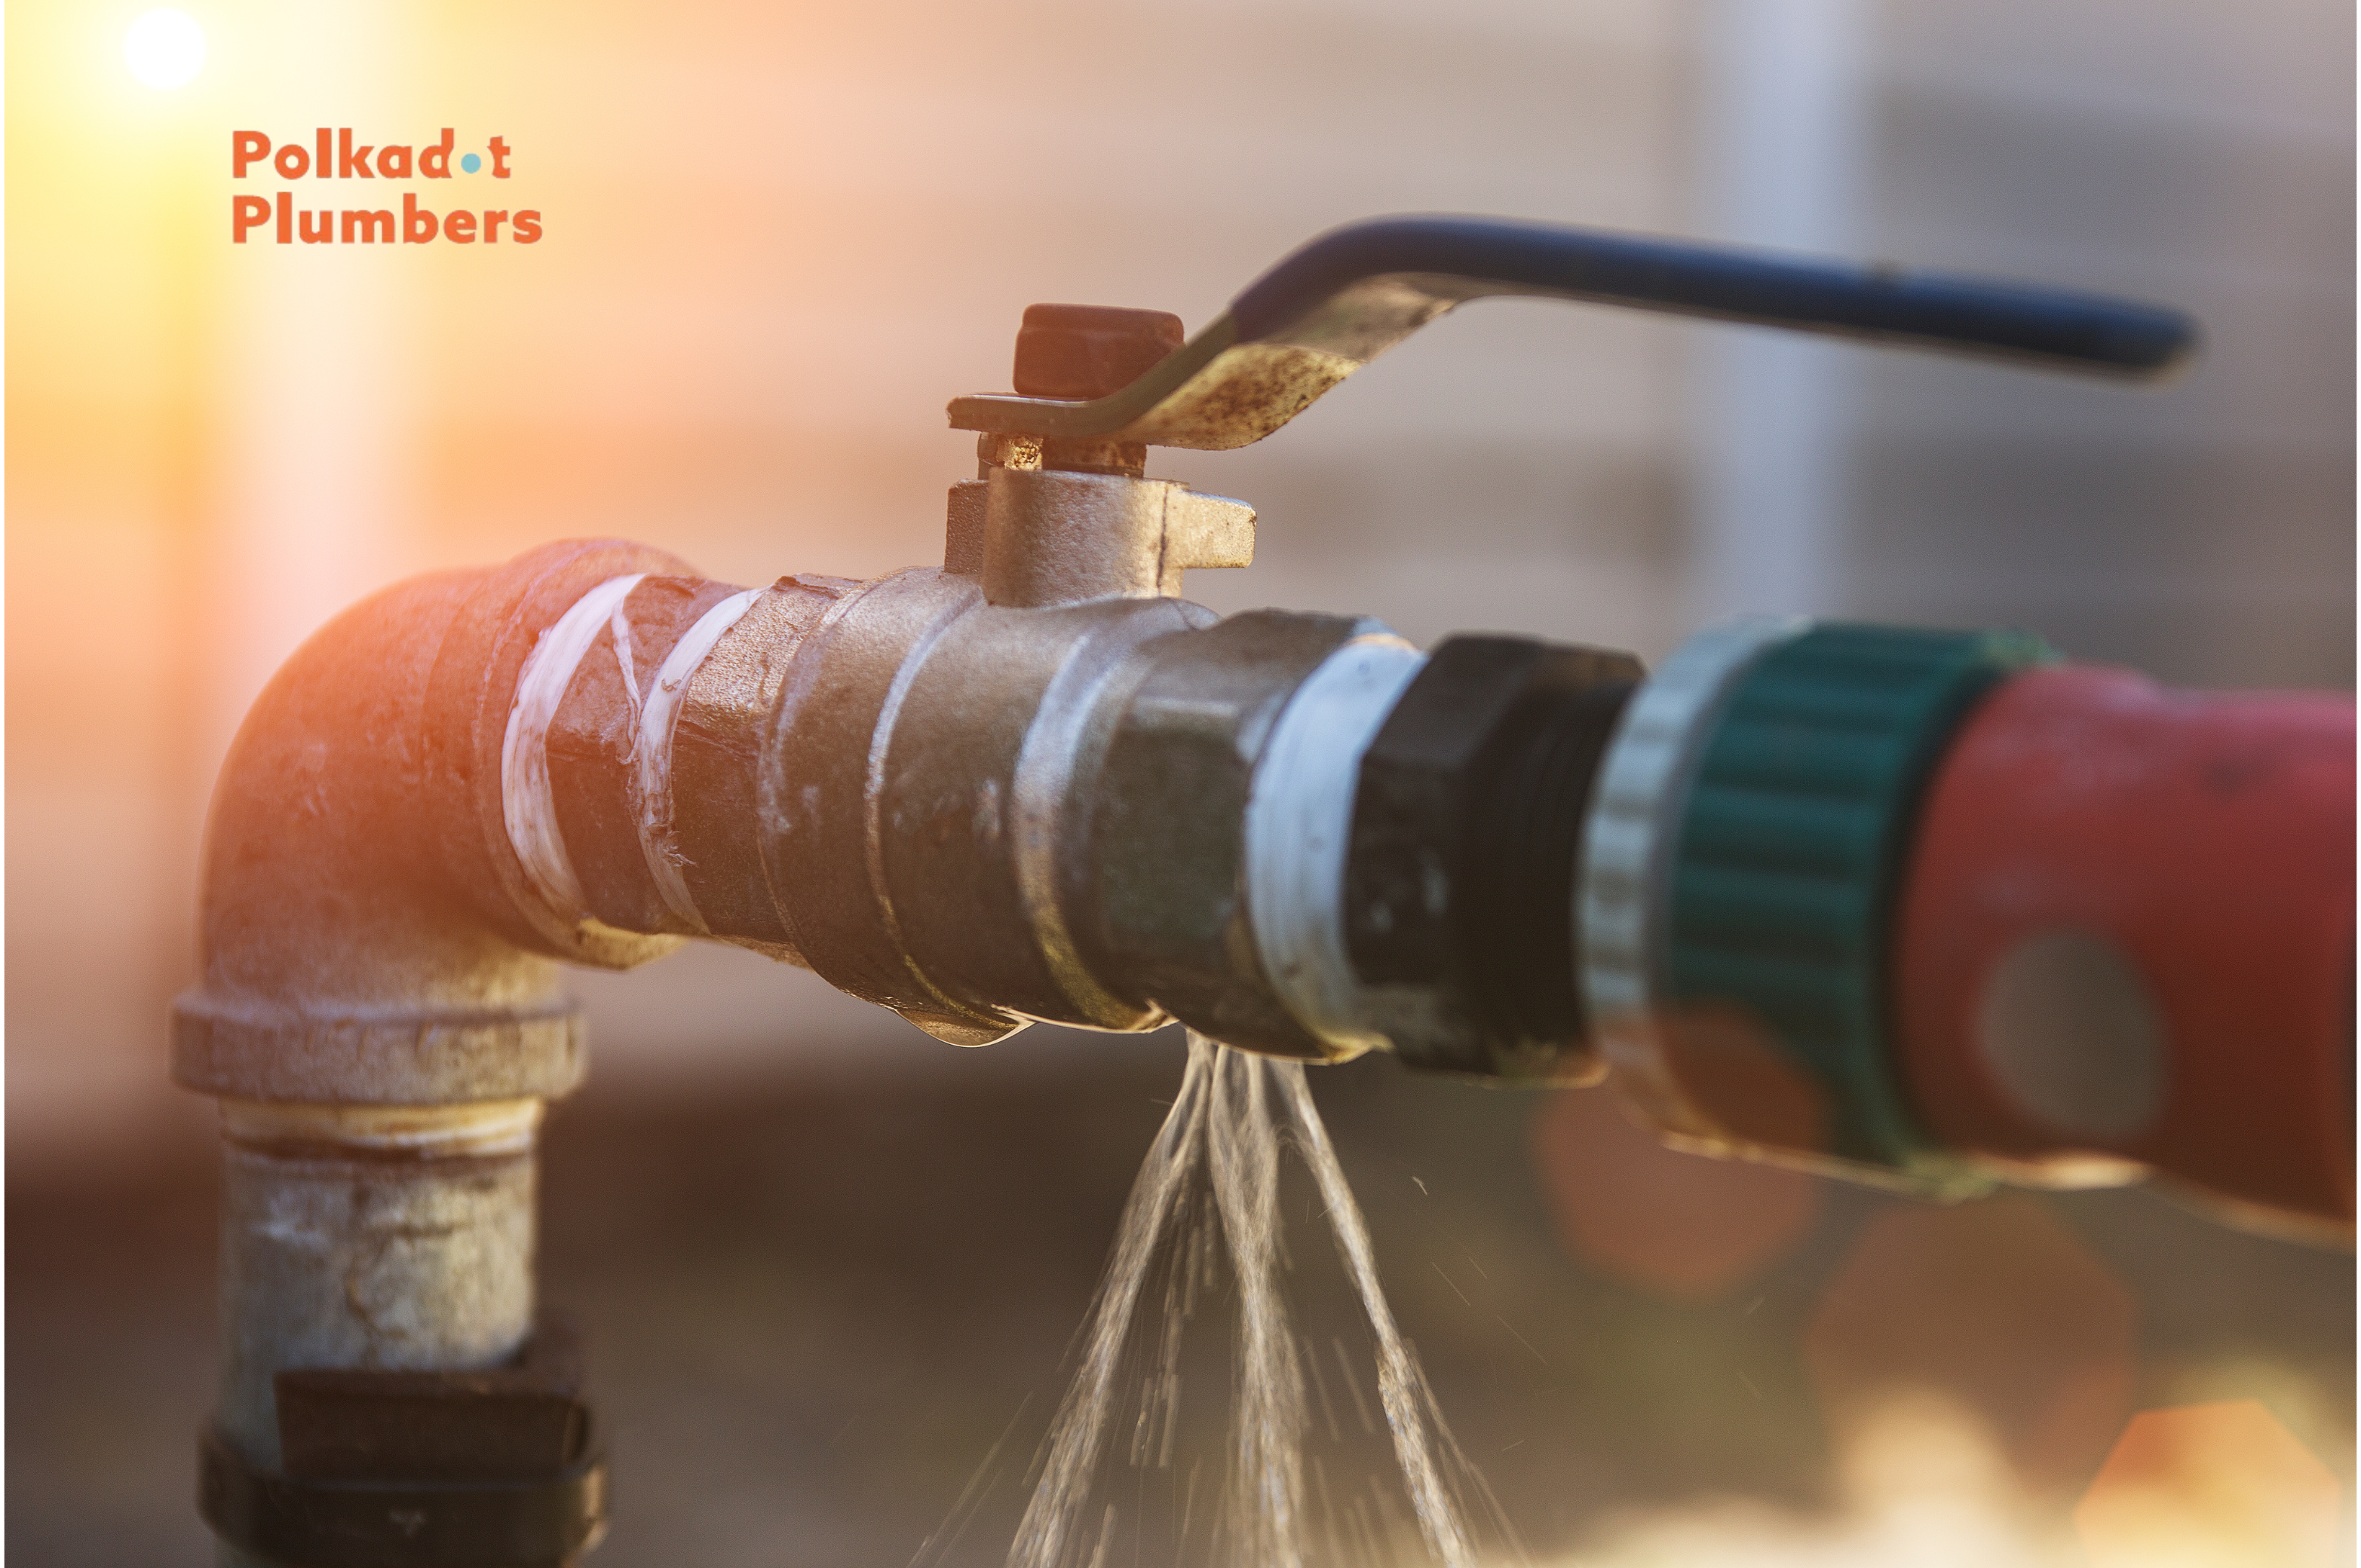
A plumbing leak can be a major problem that needs fast attention. It’s important to look for signs of a big leak to avoid more harm and costly fixes.
Here’s a 4-step guide to help you search for signs of a huge plumbing leak:
- See if there are water stains: Check walls, ceilings, and floors for any coloured patches. Water spots may show a hidden plumbing leak close by.
- Check your water meter: Stop all faucets in your house and look at the water meter. If it still moves or is active, it means water’s still flowing and there may be a leak.
- Listen for drops: Listen out for unusual dripping or running water sounds in your home, even when no taps or appliances are on.
- Monitor your water bill: Keep an eye on your monthly water bills. A sudden rise in use without any changes in family habits may mean an unseen plumbing leak.
Also, be mindful of other special details that could hint at a big plumbing leak. These include the smell of mould or mildew, weak water pressure, or unexplained wetness around fixtures.
In fact, according to the Environmental Protection Agency (EPA), a small faucet drip can waste up to 3 gallons of water per day if left unrepaired.
Shut off the main water supply
If you have a leak, it’s important to act fast and shut off the main water supply. This will help prevent more damage and stop water from being wasted. Here’s a guide on how to do it:
- Find the valve: The main shut-off valve is usually near the water meter or your building’s main water line.
- Turn off the valve: Use a key or wrench to turn it clockwise until it’s completely closed.
- Check for leaks: Look around to see how bad it is. You may need professional help.
- Contact professionals: If you can’t handle it, get an expert plumber or the authorities.
Lastly, stay calm. This way, you’ll make better decisions and avoid any potential risks.
Pro Tip: Inspect your plumbing system regularly to spot issues early and prevent bigger problems.
Call a professional plumber
When faced with a major plumbing leak, it’s time to bring in the experts. A professional plumber is the key to resolving the issue efficiently and effectively. We have the knowledge, skills, and experience required to handle even the most challenging leaks.
Leaving a major plumbing leak untreated can have devastating consequences. It can lead to significant water damage, which can be costly to repair. Moreover, a leak can also cause mould growth, compromising the air quality and safety of your home. By calling a professional plumber, you can avoid these potential hazards and ensure a thorough resolution to the leak.
Professional plumbers, like Polkadot, have access to specialized tools and equipment that enable them to quickly identify the cause of the leak. Whether it’s a burst pipe, a faulty valve, or a worn-out seal, they have the expertise to diagnose the problem accurately. Once the source of the leak is identified, they can implement the necessary repairs or replacements, using high-quality materials and industry best practices.
In addition to fixing the immediate issue, a professional plumber can also offer valuable suggestions to prevent future leaks. They can advise on regular maintenance tasks, such as checking for leaks, inspecting pipes for corrosion, and replacing worn-out fixtures. Implementing these suggestions can prolong the lifespan of your plumbing system and save you from potential future troubles.
In summary, when you encounter a major plumbing leak, it’s crucial to call a professional plumber promptly. They possess the necessary knowledge, skills, and tools to address the problem effectively. By reaching out to a professional, you can ensure a comprehensive solution to the leak and receive valuable recommendations to prevent future plumbing issues.
Finding the right plumber is like picking a date on Tinder, but instead of swiping left or right, you hope they won’t make your pipes swipe right off your wall.
Research and choose a reputable plumber
Hiring a pro for all plumbing needs is essential. For the right plumber, do thorough research. Here are some tips:
- Check credentials – Check if they have licenses and insurance. This means they have the necessary skills and knowledge.
- Read reviews – Read what others say about the plumber. This will give you an idea of their work quality.
- Seek recommendations – Ask friends and family who have hired a plumber. Their experience is invaluable.
- Compare quotes – Get quotes from different plumbers. Consider services, pricing, and warranties.
Also, remember that good plumbers prioritize timely communication, have transparent pricing, and offer guarantees for their work.
Quality should be the top priority when getting plumbing done. According to HomeAdvisor, over 80% of homeowners were satisfied with professional plumbers’ services.
Explain the situation to the plumber
When it comes to plumbing issues, explaining the problem accurately to a plumber is key. Here are some tips:
- Describe the issue: Give an accurate description. E.g. how often the faucet is dripping, if it gets worse when you turn the water on, etc.
- Mention troubleshooting: Say if you’ve tried to fix it yourself or noticed any short-term solutions.
- Explain any complications: Let the plumber know if there’s difficult access or potential hazards.
Be honest and clear when communicating with the plumber. Don’t downplay or exaggerate.
Plus, do these:
- Be open to questions and suggestions: Plumbers are experts and their advice can help.
- Ask for explanations: If you don’t understand something, don’t be shy to ask.
- Be prompt in responding: Show your commitment by replying to follow-up questions quickly.
By following these steps, you can explain the situation well and get the plumbing services you need. Clear communication is essential!
Mitigate water damage
Water damage can wreak havoc on your home, but with the right steps, you can mitigate the destruction. Here’s a 4-step guide to help you minimize the impact of a major plumbing leak:
- Act swiftly: As soon as you notice a plumbing leak, shut off the water supply to prevent further damage. Locate the main water valve and turn it off. This quick action will stop the flow of water and minimize the extent of the leak.
- Protect your valuables: Move any valuable items or furniture away from the affected area immediately. Water can cause irreparable damage to electronics, documents, and cherished belongings. By removing them from harm’s way, you can safeguard your possessions from the ravages of water damage.
- Extract standing water: Use a wet/dry vacuum or mop to remove any standing water from the affected area. This will help prevent structural damage, mould growth, and potential health hazards. The sooner you eliminate the excess water, the better chance you have of salvaging your property.
- Call a professional: Contact a licensed plumber or water damage restoration company to assess the situation and make necessary repairs. They have the expertise, tools, and experience to handle such emergencies, ensuring your home is restored to its pre-damage condition.
Remember, time is of the essence when dealing with water damage. Leaving it unattended can lead to extensive structural issues, mould growth, and costly repairs. Take immediate action to mitigate the water damage and protect your home and belongings.
Did you know? According to the National Flood Insurance Program, even an inch of water can cause substantial damage to property. It’s crucial to address plumbing leaks promptly to minimize the risk of extensive water damage.
Move furniture and belongings away from the affected area, unless you’re going for an underwater living room theme – then just grab some snorkels and embrace the chaos.
Move furniture and belongings away from the affected area
Moving furniture and belongings away from the affected area is essential for mitigating water damage. It helps avoid further harm to your possessions and reduces the damage caused. Here is a six-step guide to effectively move your furniture and belongings:
- Assess the situation. Work out if it’s safe to enter the affected area and decide what actions should be taken first.
- Ensure your safety. Wear protective gear such as gloves, boots, and a face mask before entering.
- Clear out smaller items. Start with lamps, decor, and electronics and place them in a dry area.
- Elevate bigger furniture. Lift larger pieces onto blocks or wooden planks to protect them from standing water.
- Be careful when moving heavy items. Get help with sofas and cabinets to avoid injuries or further damage.
- Allow for drying. Promote proper airflow in the affected area and in the place where you store the items.
Time is important when it comes to mitigating water damage. The longer your furniture is exposed to moisture, the higher the risk of irreversible damage and mould growth.
Place buckets or towels to catch water
To prevent water damage, use buckets or towels strategically. Catch the water and reduce potential harm to your property. Here’s a five-step guide to properly place buckets or towels:
- Locate the water leak source. This helps you decide the best spots to position your tools.
- Select strong buckets or containers. They should hold a lot of water without overflowing. Or, use absorbent towels to soak up any drips or leaks.
- Place buckets or towels by the water source. Especially in areas where leakage is likely to occur.
- Use multiple containers or towels for maximum coverage. To catch any potential leaks from different angles.
- Check on buckets/towels regularly. Empty them before they overflow to avoid further damage.
Note unique details specific to your situation. Such as humidity levels in your home, or areas prone to leaks.
Act now to protect your belongings and save yourself from costly repairs. Don’t wait until it’s too late! Follow these steps to safeguard your property from water damage.
Document the leak for insurance purposes
Documenting the leak for insurance purposes is a crucial step in ensuring that you receive the necessary coverage for any damages incurred. By properly documenting the leak, you can provide your insurance company with the evidence and information they need to process your claim efficiently.
Here is a step-by-step guide on how to document the leak for insurance purposes:
- Take photographs or videos: Capture clear images or videos of the leak and the affected areas from different angles. This visual evidence will be vital in proving the extent of the damage.
- Note the date and time: Write down the exact date and time when you discovered the leak. This information will help establish the timeline of events and support your claim.
- Record the location and size of the leak: Describe where the leak is occurring in your home and its approximate size. This documentation will assist in determining the severity and scope of the damage.
- Collect supporting documentation: Gather any relevant documents related to the leak, such as repair receipts, plumber’s reports, or estimates for repairs. These documents will provide additional evidence of the leak and its impact.
- Keep a journal of actions taken: Maintain a detailed record of any steps you take to address the leak, such as contacting a plumber or turning off the main water supply. This record will demonstrate your efforts to mitigate the damage.
- Preserve damaged items or materials: If any personal property or building materials have been affected by the leak, keep them in a safe place. The insurance company may need to inspect these items to assess their value or determine the extent of the damage.
It’s important to note that your insurance policy may have specific requirements for documenting a plumbing leak. Refer to your policy and follow any guidelines provided by your insurance company.
To ensure a smooth claims process, it is essential to document the leak thoroughly and accurately. Failure to do so may result in a denial or reduction of your claim, leaving you responsible for the cost of repairs and restoration.
Take immediate action and document the leak for insurance purposes to protect yourself from potential financial loss. Don’t wait until it’s too late and risk the chance of your claim being rejected. Remember, every moment counts when it comes to safeguarding your home and belongings.
Capturing a stunning water ballet performance in your living room? Take photos or videos of the damage before diving into the reality of a major plumbing leak.
Take photos or videos of the damage
When filing an insurance claim, taking photos or videos of any damage is key. These visuals prove important evidence and aid the claims process. Capture the extent of the damage to support your case. Here’s a guide to doing so effectively:
- Make sure you have a clear, unobstructed view of the affected area. Remove any objects that may block visibility.
- Use good lighting to clearly show the damage. Natural light is ideal, but lamps can be used if needed.
- First, take wide-angle shots then zoom in to capture close-up images of specific areas of concern.
- When recording a video, pan slowly and thoroughly across the damaged area. Include any cracks, leaks, or structural issues.
It’s important to also capture any pre-existing damage that may have been worsened. That will help establish a before-and-after comparison for insurance purposes.
Remember, taking photos or videos is key when filing an insurance claim. The more detailed your documentation, the better your chances are of receiving fair compensation.
Keep track of any expenses related to the leak
Essential for insurance purposes:
Track any expenses related to the leak. Documenting costs will guarantee you receive proper compensation and avoid financial burdens.
- Create a folder or file to organize documents. This includes receipts, invoices, and other paperwork related to the leak.
- Record both direct & indirect expenses. Direct expenses are linked to fixing the leak, e.g. plumber fees and materials. Indirect expenses include anything extra like temporary accommodation or damage to belongings.
- Log each expense. Date, description, and amount spent – this will help the insurance company and speed up the reimbursement process.
Don’t forget! Documenting should also include communication with professionals involved in the leak, like plumbers and contractors.
Pro Tip: Photos or videos of the affected areas and damaged items can bolster your claim during insurance.
Clean up after the leak
After a major plumbing leak, it is crucial to swiftly clean up the mess to prevent further damage and potential health hazards. Follow these three steps to effectively address the aftermath:
- Remove excess water: The first step in cleaning up after a plumbing leak is to eliminate any standing water. Use a wet vacuum or mop to soak up as much water as possible. Be thorough in your efforts and ensure that all affected areas are completely dry.
- Sanitize the area: Once the water has been removed, it’s essential to sanitize the affected areas to minimize the risk of mould or bacteria growth. Use a mixture of bleach and water to disinfect hard surfaces, and allow it to sit for a few minutes before wiping clean. For fabrics or porous materials, consult with a professional cleaning service for proper treatment.
- Restore and repair: After the area has been thoroughly cleaned and disinfected, focus on restoring any damaged elements. This may involve replacing carpeting, repairing drywall, or fixing any plumbing fixtures that caused the leak. Consult with a professional plumber or contractor to ensure proper repairs are made.
It’s important to note that each plumbing leak is unique, and the severity of the damage can vary. Therefore, it is recommended to contact a professional plumber or restoration specialist to assess the situation and provide expert guidance on the cleanup process.
In a similar vein, a true history related to cleaning up after a major plumbing leak showcases the urgency and importance of taking swift action. One homeowner experienced a significant water leak that resulted in extensive damage to their property. The delay in addressing the cleanup allowed mould to grow, which not only increased repair costs but also posed a health risk to the occupants. This incident serves as a reminder of the significance of promptly cleaning up after a plumbing leak to prevent further complications.
Remember, in the event of a major plumbing leak, prioritize safety and efficiency by promptly cleaning up the mess. By following the three-step guide and seeking professional advice when needed, you can mitigate further damage and restore your home to its former state.
Who needs a fancy water park when you can have your very own indoor swimming pool thanks to a major plumbing leak?
Remove excess water and dry the affected area
In order to nip the consequences of a leak in the bud, it’s vital to get rid of surplus water and dry the affected spot completely. This will not only halt more destruction but also check the spread of mildew and mould. Here is a 4-step guide to help with that:
- Locate the source of the leak and fix it fast to bar any added water from infiltrating the area.
- Use absorbent materials like towels or mops to soak up as much water as you can. Press down hard to guarantee maximum absorption.
- For bigger areas, think about using a wet/dry vacuum cleaner to accelerate the water extraction process.
- Once most of the standing water is removed, set up fans and open windows to increase air circulation. If available, use dehumidifiers to lower humidity levels in the air.
Remember, even small amounts of moisture can cause considerable damage over time. That’s why it’s important to be meticulous in your approach. Moreover, look for concealed pools of water behind walls or beneath the flooring. These places may need specialized attention to keep away from possible structural issues or mould growth.
Don’t let time run away with you. Take swift, effective action when dealing with a leak. By quickly eliminating extra water and drying the affected area, you can limit further problems and protect your property. So roll up your sleeves, gather your tools, and begin restoring your space back to its secure, dry state. Your efforts right now will make a huge difference in warding off future headaches and costs.
Use appropriate cleaning products to disinfect
It’s imperative to use the right cleaning products for disinfecting to keep a spotless and healthy atmosphere. Five key points to consider:
- Pick a disinfectant that works on the particular pathogen you wish to eradicate. Disinfectants vary in their effectiveness against different bacteria, viruses, and fungi.
- Read the label carefully to check if the cleaner is safe to use on the surface you are cleaning. Certain cleaners can damage certain materials, such as wood or fabric.
- Follow the manufacturer’s guidelines on dilution ratios and exposure times. Too little or too much of a cleaning product can reduce its effectiveness.
- Wear protective gear (PPE), like gloves and masks, when handling strong disinfectants to protect yourself from any health risks.
- Think about using eco-friendly or ‘green’ certified cleaning products that are less hazardous to your health and the environment.
It’s also worth noting that some essential details regarding cleaning products may not have been mentioned previously. For instance, it is advisable to store cleaning products in a cool and dry place, away from direct sunlight, to maximize their potency and efficiency.
To maximize the efficiency of your cleaning routine, here are some extra tips:
- Pre-clean surfaces before disinfection: Removing dirt and debris makes it easier for the disinfectant to work effectively.
- Allow enough contact time: Many disinfectants require a certain amount of contact time with germs to kill them effectively. Read the instructions on your chosen product.
- Rinse or wipe down surfaces after disinfection: Some disinfectants may leave behind residues that can be dangerous if touched or ingested.
- Dispose of used cleaning materials correctly: Make sure that any used wipes, gloves, or other disposable items are disposed of in designated waste bins.
By following these suggestions, you can make sure your cleaning products are used safely and effectively, creating a clean and germ-free environment.
Prevent future plumbing leaks
Every homeowner dreads the thought of a major plumbing leak. Not only can it cause significant damage to your property, but it can also be a costly and time-consuming problem to fix. However, there are steps you can take to prevent future plumbing leaks and avoid such a nightmare scenario.
- Regularly inspect your plumbing: Take the time to carefully inspect your plumbing system, including pipes, faucets, and fixtures. Look for any signs of leaks, such as water stains, dripping pipes, or mould growth. Addressing these issues promptly can help prevent larger problems.
- Maintain proper water pressure: Excessive water pressure can strain your plumbing system and increase the likelihood of leaks. Invest in a pressure regulator to ensure that the water pressure in your home remains at a safe and manageable level.
- Be cautious with drain usage: Clogged drains can cause backups and put unnecessary pressure on your plumbing system. Avoid pouring grease, oil, or food scraps down the drain, and use drain covers to catch any hair or debris.
- Insulate your pipes: During colder months, freezing temperatures can cause pipes to burst. Prevent this by insulating your pipes with heat tape or pipe sleeves. This will help keep the water flowing and avoid costly damage.
- Schedule regular maintenance: Hire a professional plumber to conduct annual inspections and maintenance on your plumbing system. They can identify any hidden issues and make necessary repairs or replacements, ensuring that your system remains leak-free.
Remember, prevention is always better than cure when it comes to plumbing leaks. By following these steps, you can safeguard your home and avoid the hassle and expense of dealing with a major plumbing disaster.
In addition to these preventive measures, it is important to note that not all plumbing leaks are caused by negligence or lack of maintenance. Sometimes, plumbing leaks can occur due to unforeseen circumstances or external factors. Therefore, it is essential to have a reliable plumber’s contact information handy for emergency situations.
A true history that exemplifies the importance of preventing future plumbing leaks involves a homeowner who neglected regular maintenance and inspections. As a result, a minor leak went unnoticed until it escalated into a major plumbing disaster, causing extensive damage to the property. This unfortunate incident serves as a reminder that taking proactive measures to prevent future plumbing leaks is crucial for every homeowner.
Taking a proactive approach to prevent future plumbing leaks can save you from unnecessary stress, financial burden, and property damage. By implementing these steps and prioritizing regular maintenance, you can ensure the longevity and efficiency of your plumbing system, providing peace of mind for years to come.
Inspecting and maintaining your plumbing system regularly is like going to the dentist – it’s a pain, but it’ll save you from experiencing a major leak that makes you question your life choices.
Regularly inspect and maintain plumbing systems
Inspecting and maintaining plumbing systems is key to avoiding leaks. Follow this 5-step guide for keeping your plumbing in good shape:
- Check for Leaks: Regularly look at all visible pipes, taps, and fixtures for any leak signs. Are there water spots, mould, or dripping water? If so, repair them fast to stop bigger damage.
- Test Water Pressure: Make sure proper water pressure is present. Use a pressure gauge to check it at different points. If it’s too high or low, get help from a plumber.
- Clean Drains: Clogged drains can cause backups and put pipes under pressure. Clean them using natural remedies such as vinegar and baking soda. Or use drain snakes or plungers if needed.
- Insulate Pipes: Protect pipes from freezing temperatures by insulating them. This stops cracks and leaks caused by frozen water inside the pipes in cold months.
- Maintain Water Heater: Check and maintain your water heater for effective performance and long life. Drain it yearly to get rid of sediment build-up that affects its performance.
Also remember to be careful what you flush or pour down the sink, as this can also lead to clogs and plumbing issues.
Consider installing leak-detection devices
Installing leak detection devices is a must to avoid plumbing leaks. They give an effective way to spot and sort out leaks before they cause too much damage. Consider these six points when installing them:
- Utilize water sensors. Put them near potential leak sources, like under sinks or near washing machines. They are triggered by water and will sound an alarm or send a notification when a leak is detected.
- Invest in smart leak detectors. They provide advanced features, such as automatic shut-off valves that can stop the water flow when a leak is found. They also give real-time notifications on your smartphone.
- Check out whole-home systems. They monitor your entire plumbing system, including hidden pipes and fixtures. They detect even small leaks, providing complete protection for your property.
- Look for devices with automatic shutoff valves. These valves will close when a leak is detected, avoiding further water damage.
- Check for wireless connectivity. Many leak-detection devices have wireless connection options, allowing you to link them to your home’s Wi-Fi network. This lets you monitor and control them through smartphone apps or online portals.
- Don’t forget about battery backup. Pick devices that have battery backup capabilities. This makes sure the system continues working even during a power outage.
It’s worth noting that quality leak detection devices can save you thousands in repair costs and insurance claims. Taking action against leaks can reduce the risk of major plumbing disasters.
Time is of the utmost importance when dealing with a plumbing leak. Even a small delay can cause big damage. Shut off the main water source and contact a professional plumber as soon as possible. Their expertise will help to fix the problem swiftly. Don’t forget to keep up with regular maintenance and inspections. Preventing issues early is better than dealing with major leaks down the line!
Frequently Asked Questions
What should I do if I discover a major plumbing leak in my home?
If you come across a major plumbing leak, the first step is to turn off the main water supply to your property. This will help prevent further damage and flooding. You should then contact a professional plumber to assess the situation and carry out necessary repairs.
How can I locate the main water shut-off valve in my home?
The main water shut-off valve is usually located near the water meter, usually in the basement or crawl space of your home. It may also be found outside near the foundation. If you’re unsure, consult your property’s blueprint or contact your water company for assistance.
Can I temporarily fix a major plumbing leak myself?
It is not recommended to attempt a temporary fix for a major plumbing leak yourself. This type of leak requires professional expertise to ensure a proper and lasting repair. Temporary fixes may not hold and can lead to more extensive damage and increased costs in the long run.
What should I do if a major plumbing leak occurs outside of regular business hours?
If a major plumbing leak happens outside regular business hours, it’s crucial to contact an emergency plumber who provides 24/7 services. Many plumbing companies offer emergency response options to help address urgent situations promptly.
How can I minimize water damage caused by a major plumbing leak?
In addition to shutting off the main water supply, you should turn off the electricity in affected areas, especially if water is present. Move valuable items and furniture away from the affected area, and use towels or buckets to catch any dripping water. Promptly contact a professional plumber to handle the repair and mitigate further damage.
How can I prevent major plumbing leaks in my home?
Regular maintenance of your plumbing system is crucial for preventing major leaks. Inspect pipes, fittings, and connections for signs of wear or damage and have them repaired or replaced promptly. Avoid using excessive water pressure, and be cautious about what you flush down toilets and drains to prevent clogs and potential leaks.